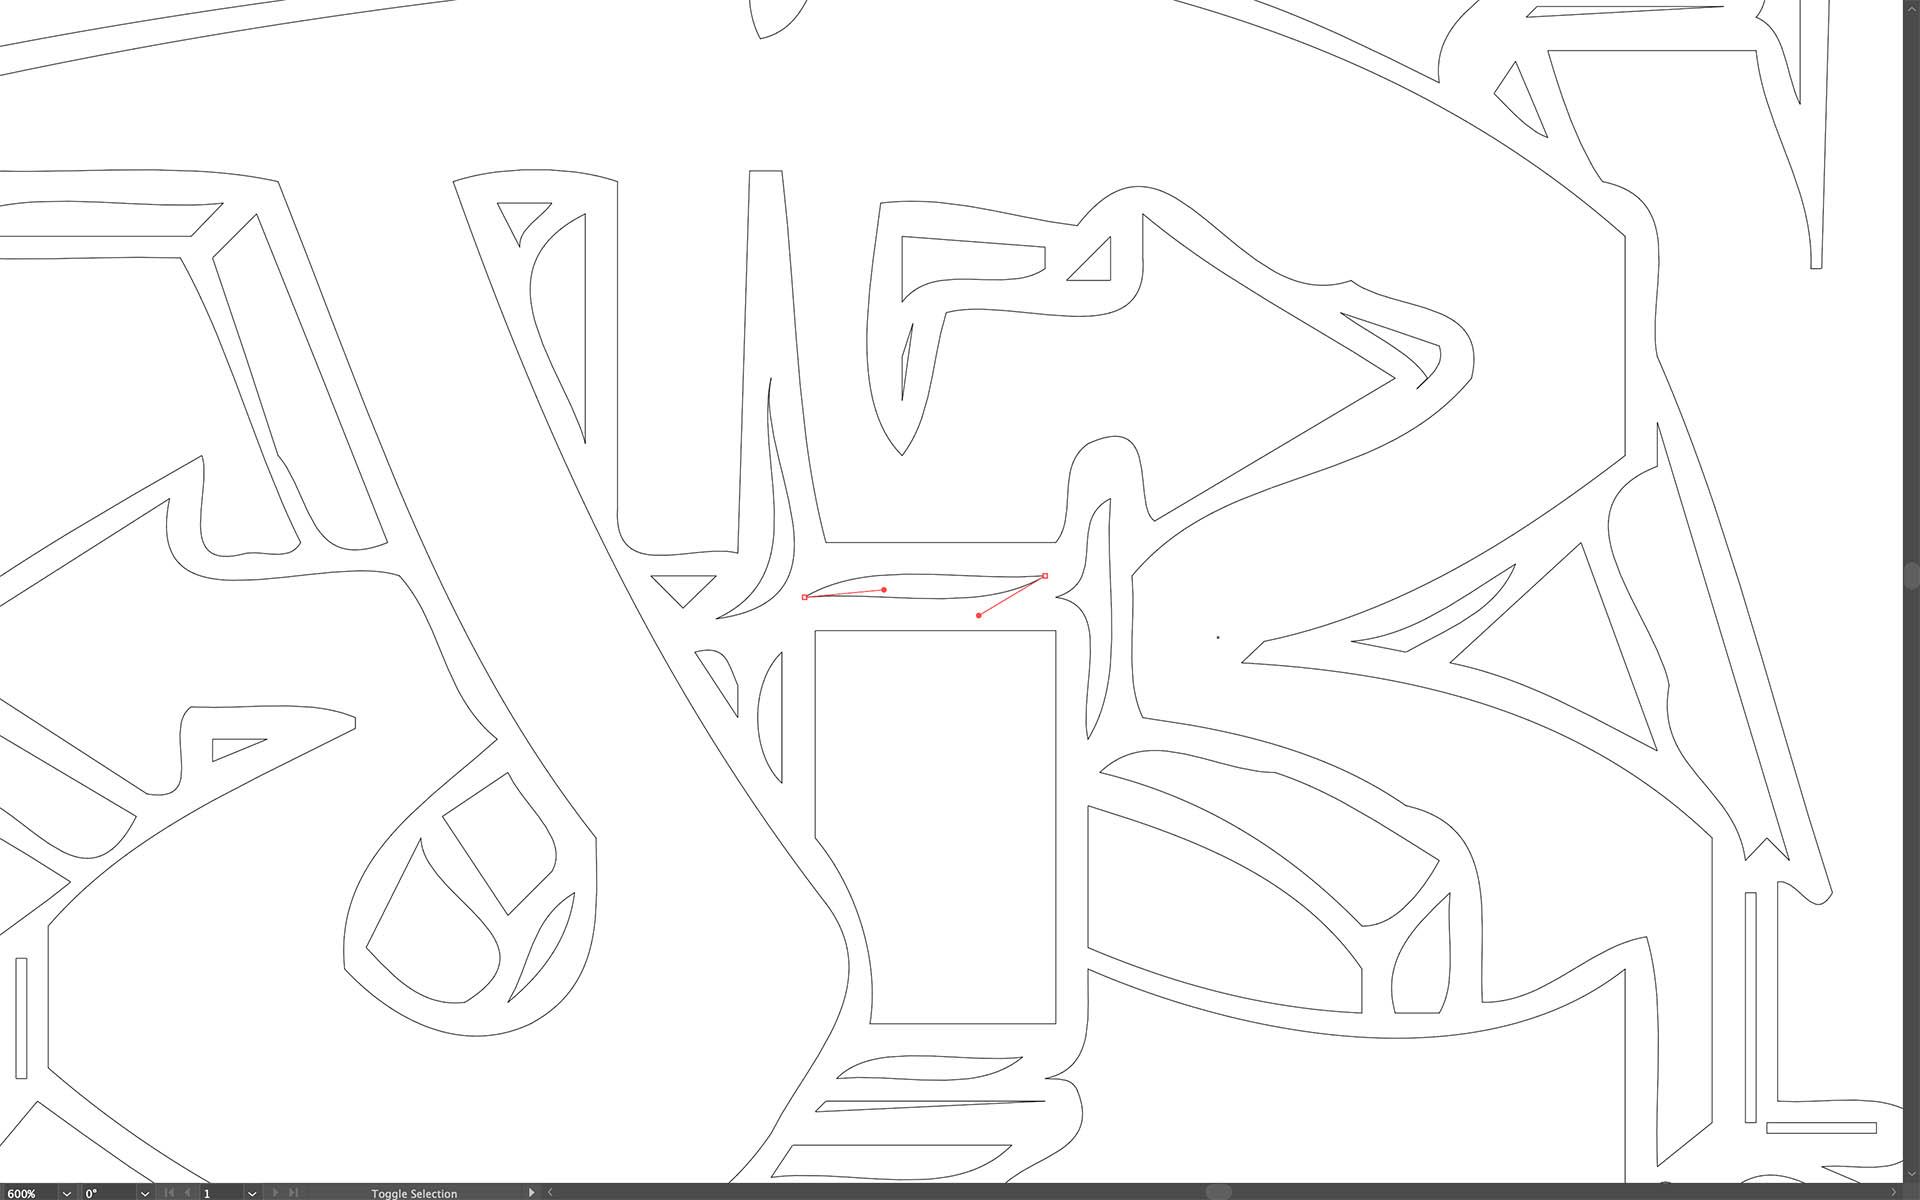
When it comes to logo design or flat line art, my preferred method is still to begin with pencil on paper. I find it much more spontaneous and creative than using a computer, especially with things like drawing curved shapes. However, there are still some rules I follow when creating with pencil on paper, because I know the final version of my design should exist as a vector file in Adobe Illustrator.
What is a vector file you ask? It’s a unique file type using the language invented by Adobe, called Postscript, where there are no pixels like you’d find in Adobe Photoshop. Think of those connect-the-dots drawings you did as a kid, where you have a bunch of seemingly random dots but if you draw lines that connect the dots you suddenly have an image like a face or a tree or whatever. This is the key difference between Adobe Illustrator and Adobe Photoshop, because you can enlarge the connect-the-dots file to any size and it’s still only basing its file size on the number of dots you’re connecting, not on the space in between the dots.
Adobe Photoshop, on the other hand, treats the space in between the dots the same way it does with the dots themselves, as pixels. Your design might look fine in Adobe Photoshop when the pixels are tiny, like you’d see on your laptop screen. But if you wanted your design to look good ten feet wide on a trade show banner, you’d have to create enough pixels (300 pixels per inch, or 300 ppi) for that to happen. The file size of an Adobe Photoshop document that’s 300 ppi at ten feet wide would be enormous, easily beyond the storage capacity of your entire hard drive.
So, now that we know our final design should be a vector file in Adobe Illustrator, what are some of the rules I said I followed to keep my pencil drawing optimized for the conversion to vector? First off, I only create an outline of the design, without filling in any color or shading it in any way. Those steps are much better to accomplish in Adobe Illustrator, and can be done much more quickly as well. Once I have the final outline of the design I want, I then scan my pencil drawing using a traditional flatbed scanner. This allows me to save the drawing as a JPG or a TIF file, which can then be opened in Adobe Photoshop. But wait, you say, I said not to use Adobe Photoshop!! This is true, and in this case Adobe Photoshop is only used as a means to an end. What I do in Photoshop is to clean up any little smudges on the drawing and get the outline to be as close as possible to a pure black and white image. From there I place the file in Adoe Illustrator and either manually trace the outline using the pen tool, or if I want a more rough and uneven line I use the auto-trace feature in Adobe Illustrator, which can detect even the slightest variances in my pencil lines.
Once the outline is how I want it, I can then fill it in with whatever colors or patterns I want, and if I want to add a pre-existing typeface as part of the design (such as a tagline for a logo), that’s also something that should be done in Adobe Illustrator as any font used is automatically vector.
Now my artwork is ready to print at any size and remain razor sharp. The image will remain vector if placed into an Adobe InDesign document, which I will cover in my next post.
