
Why Won’t Adobe Illustrator Expand My Shape?
Whenever I view a static tutorial such as the one I’m about to give you here, I always wish the author showed every step. I’m fairly sure this tutorial will cover every step either with accompanying images or just as text, but either way you should be able to duplicate what I’ve done. I made this tutorial because recently I needed to have a vector version of a specific shape I was using for a logo, and although Adobe Illustrator let me create the shape initially, it did not allow the final step of expanding the shape into the specific one I needed. You’ll understand more when you see the workaround I had to do.
Step 1. Make A Circle and Apply a Texture
The shape I needed was supposed to represent the rings in a tree, so I started by creating a simple circle in Adobe Illustrator and then applying a texture to it (by going to the top menu bar in Illustrator and selecting Window>Graphic Style Libraries>Textures) as shown below:
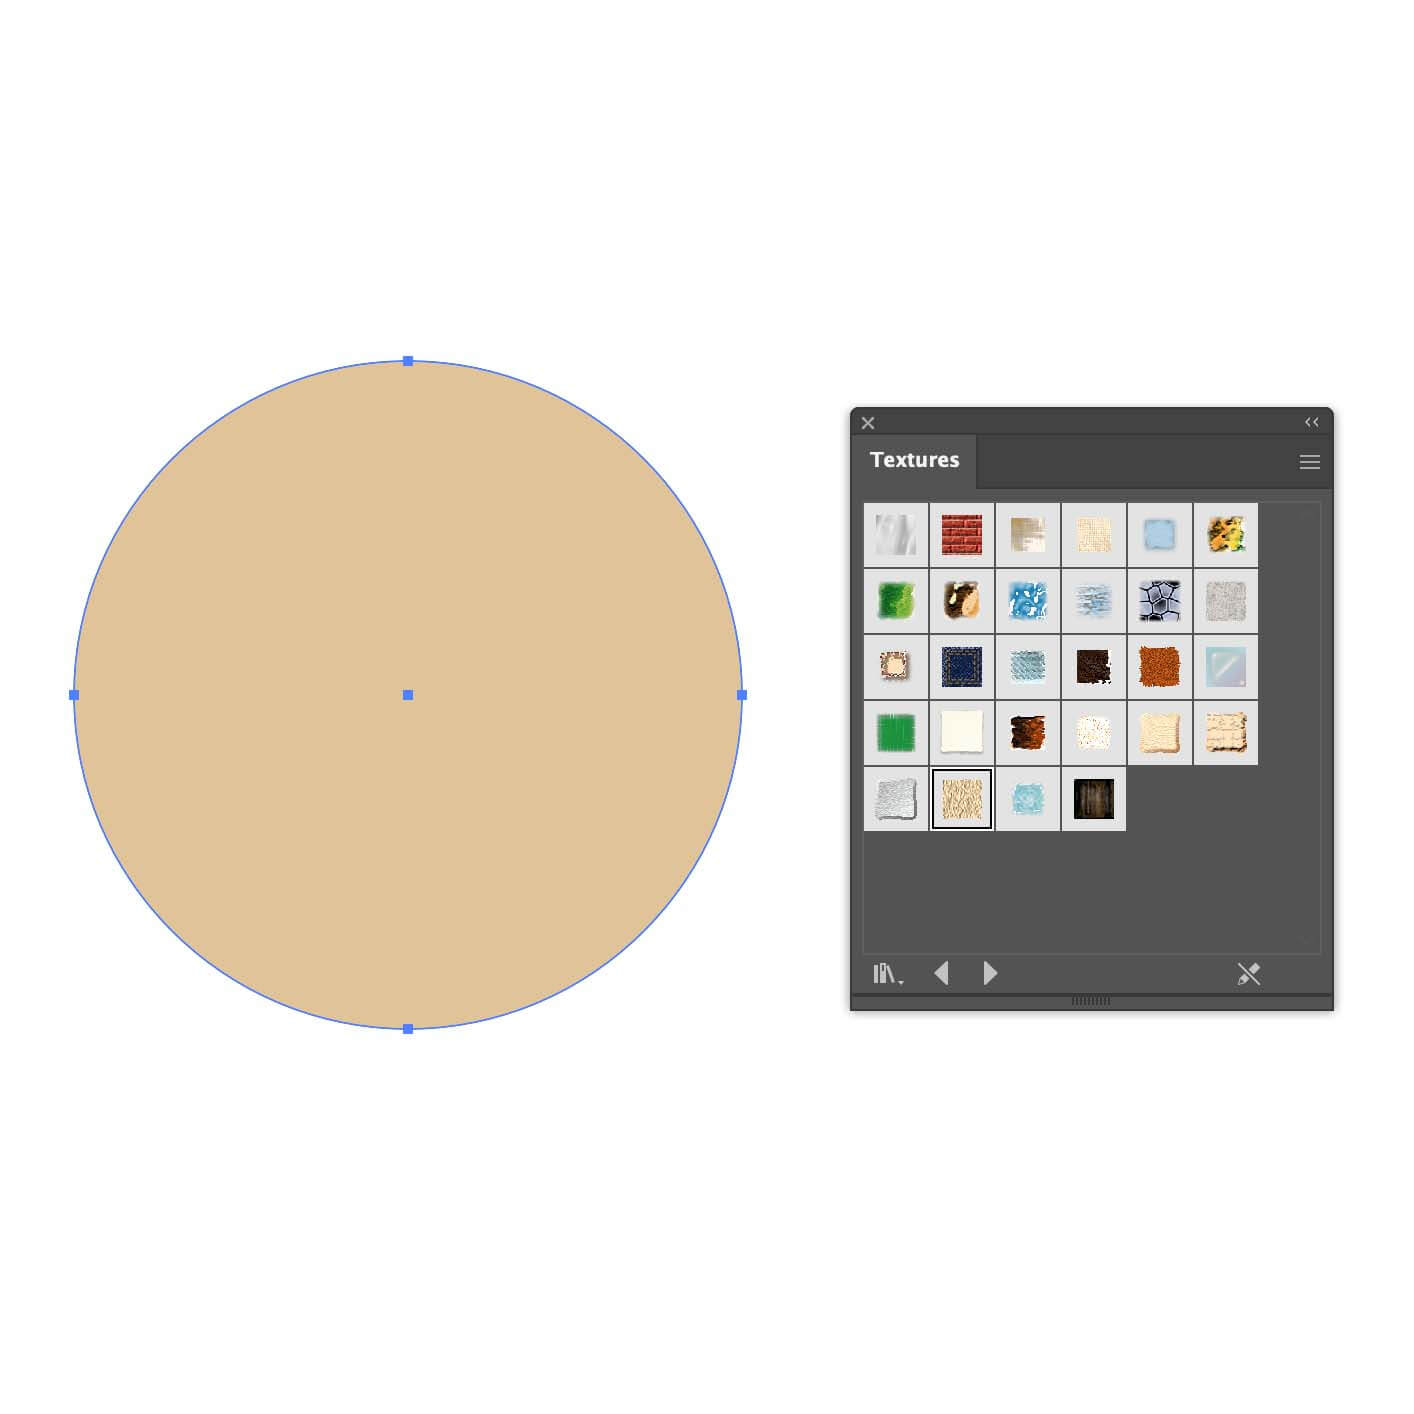
As you can see, when I applied this texture to my circle, I got the effect I wanted:
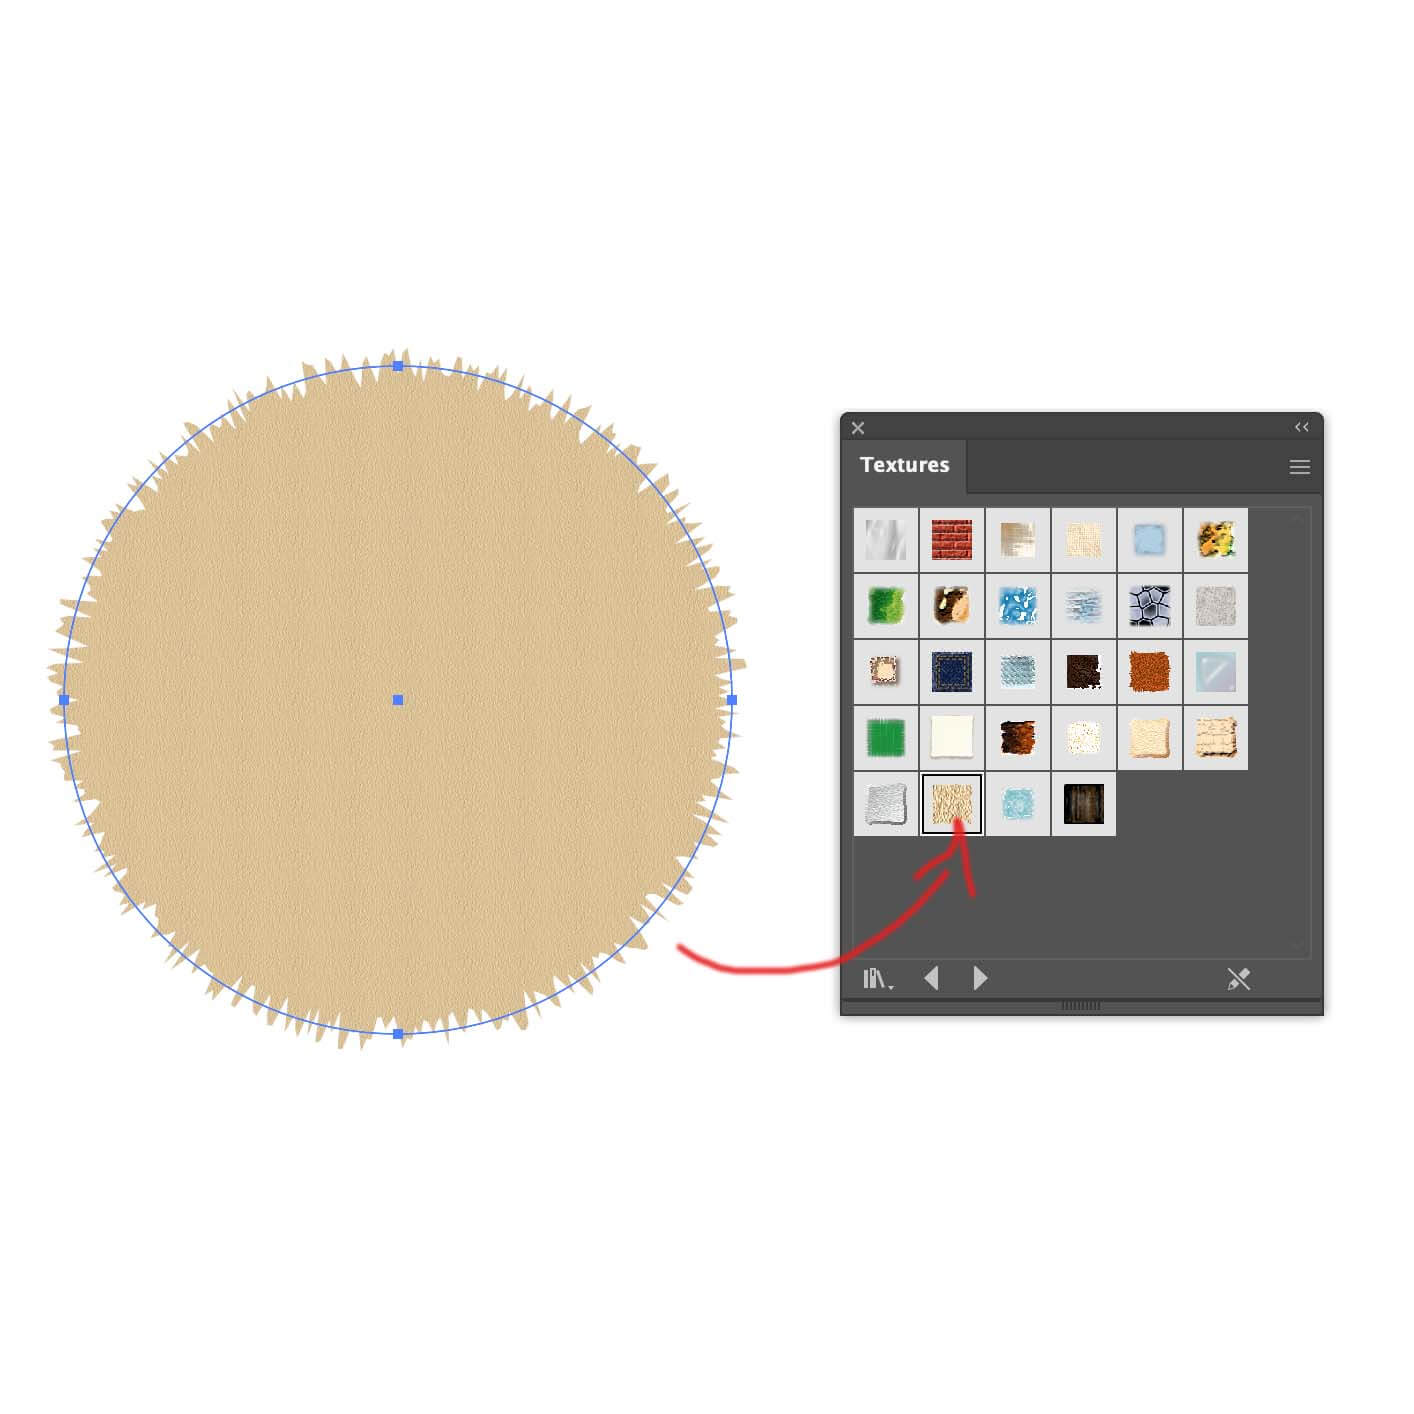
Normally this would only take one more step in Adobe Illustrator, which would be to go to the Object menu in the top menu bar and scroll down to Expand, which would make that blue outline of the circle shape (the vector path) instead be a blue outline of the exact jagged shapes of the texture. However, for some reason Illustrator doesn’t allow one to Expand an object after applying a texture to it.
Step 2. Copy Your Object From Illustrator
This is where the workaround comes in, and it involves copying this object from Illustrator and pasting into Photoshop (don’t worry, we’ll be making this vector again for the final step). This is simple, just make sure the object is still selected (after you’ve applied the texture to it of course) and then go to top menu bar and select Edit>Copy.
Step 3. Make a New Photoshop File
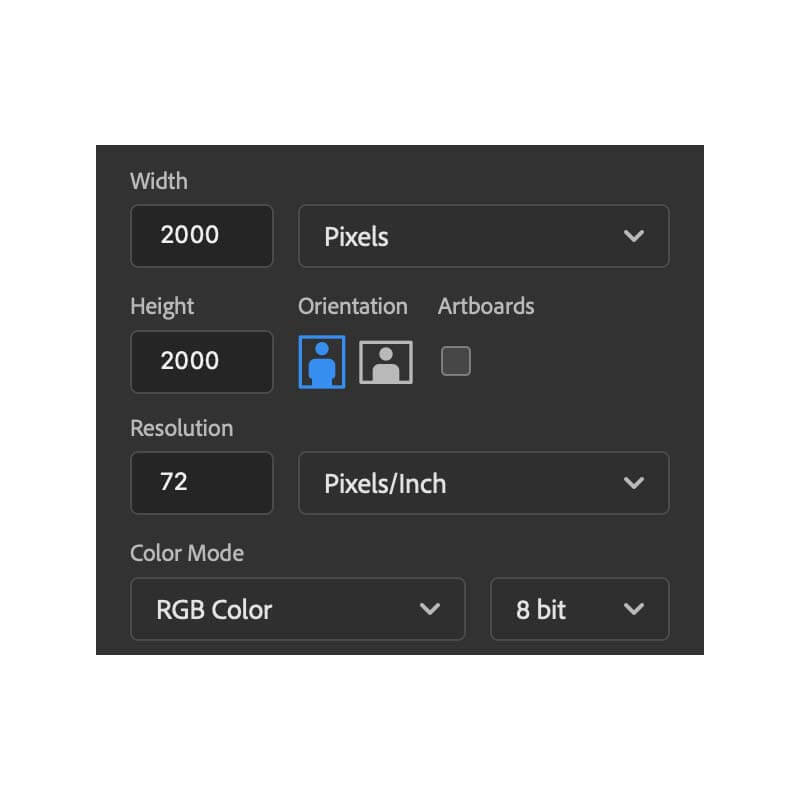
Now, switch to Adobe Photoshop and select File>New. It will default to the pixel size of the Illustrator object you copied, but don’t use those dimensions. Instead, make your Photoshop file 2000 x 2000 pixels as shown below.
Step 4. Paste Your Illustrator Object into Photoshop
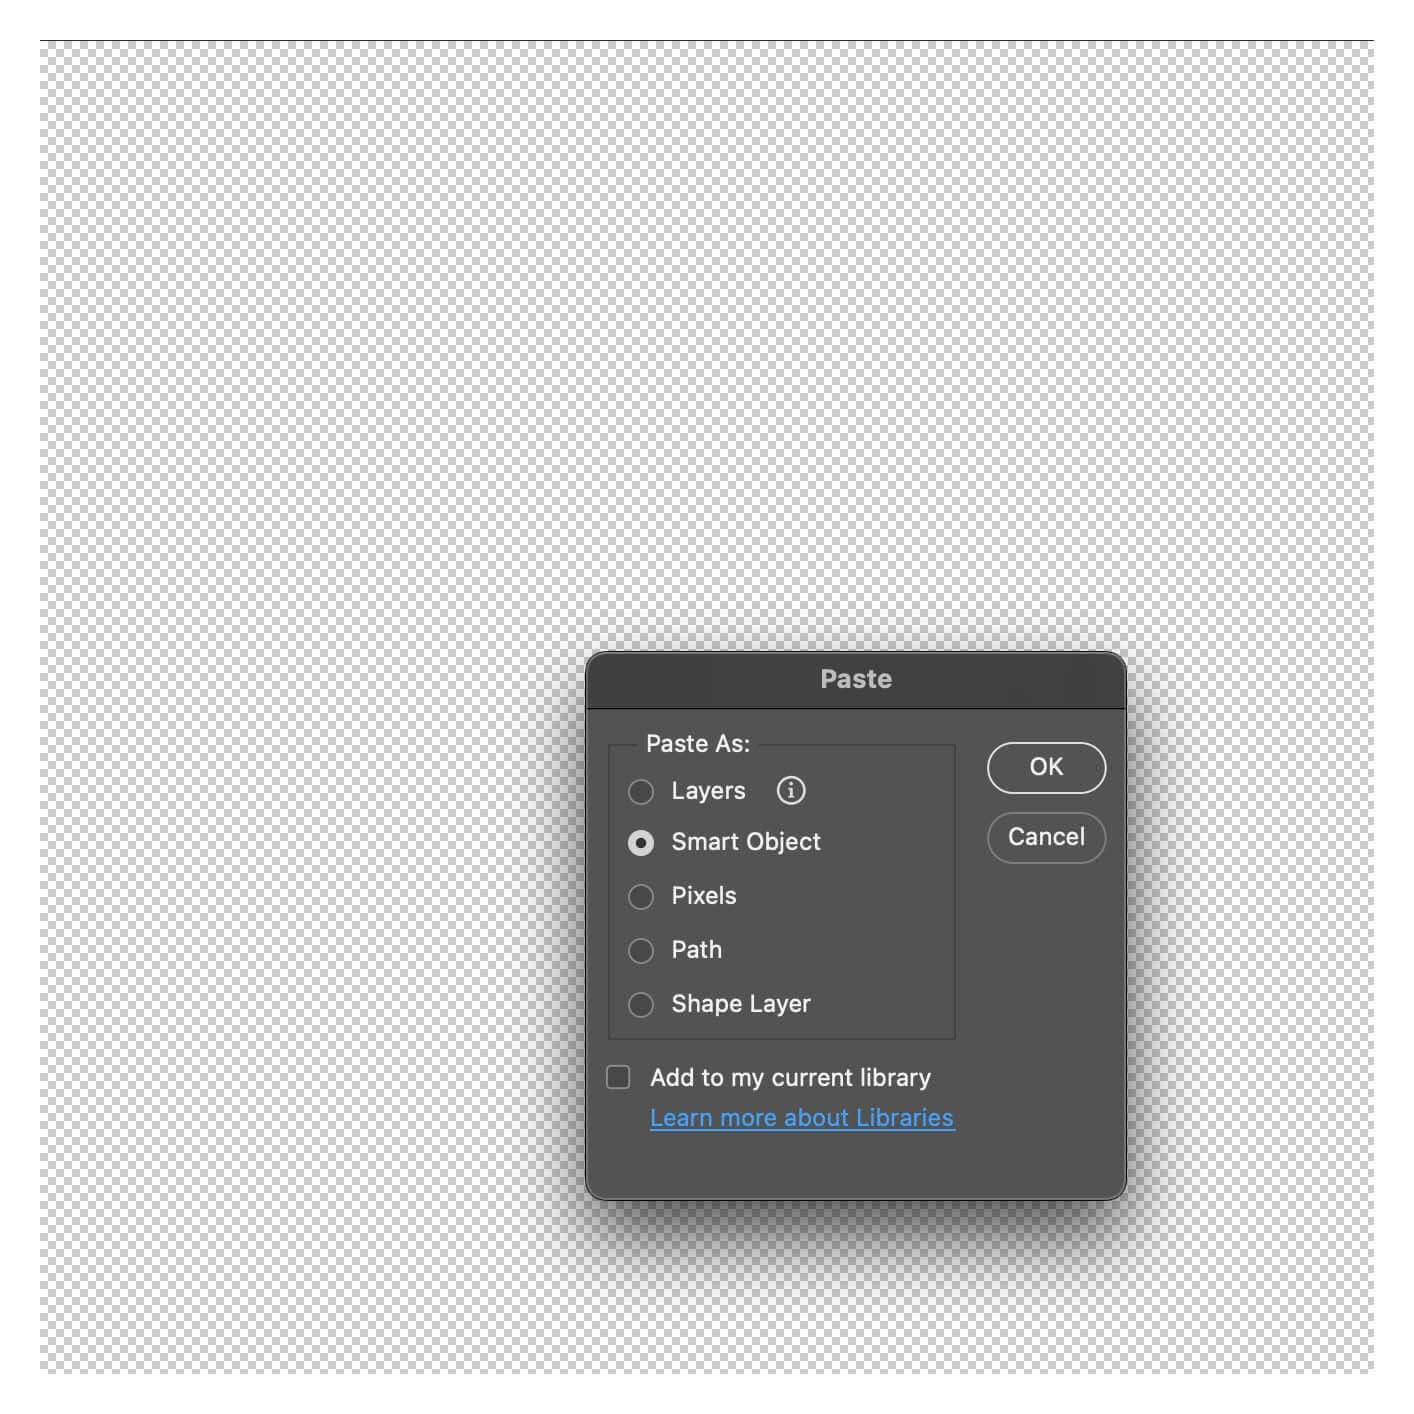
Once your new blank Photoshop file is open, go to Edit>Paste from the top menu bar, and then select the Smart Object option from the pop-up window that will appear after you select Paste, as shown below.
From there your Photoshop file will look like this:
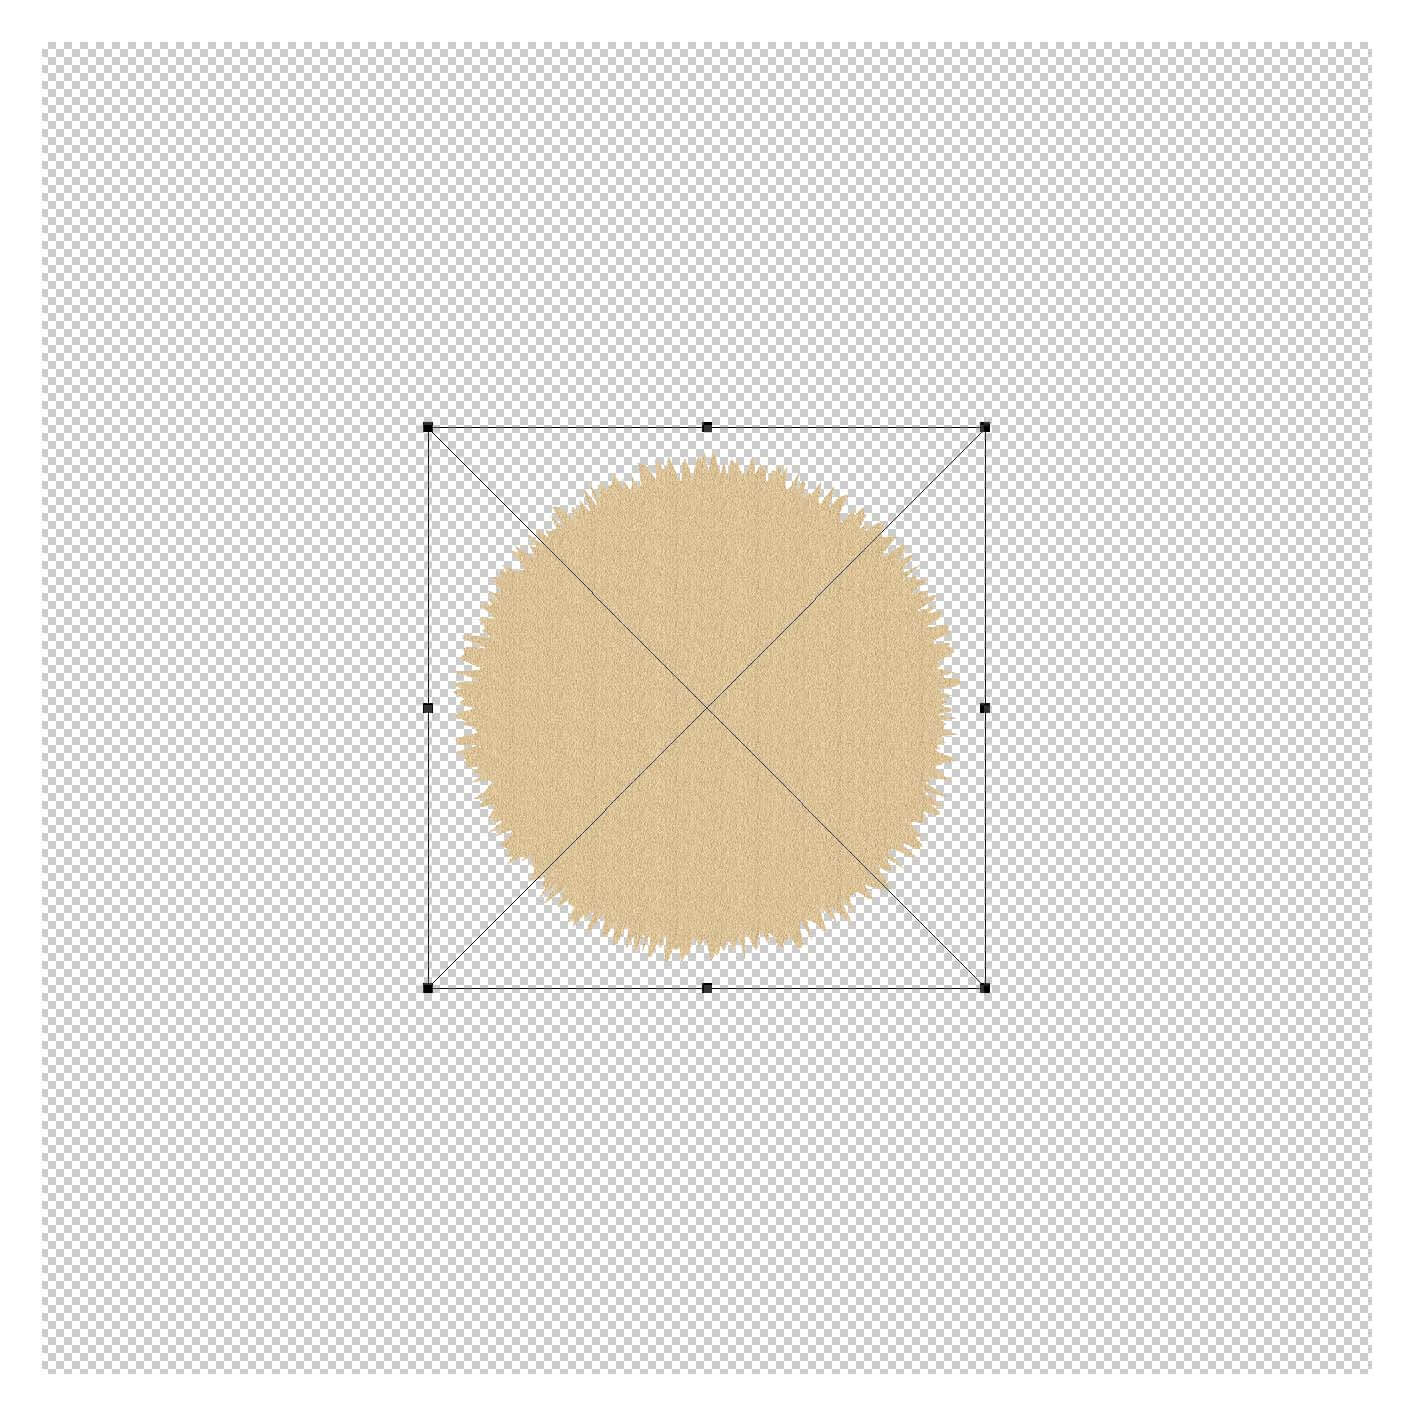
Holding the Option key down (Alt on Windows), drag one of the corner handles until the object almost fills all the space. Once you have it nice and big press Return (Enter on Windows).
Step 5. Select the Edges of the Object
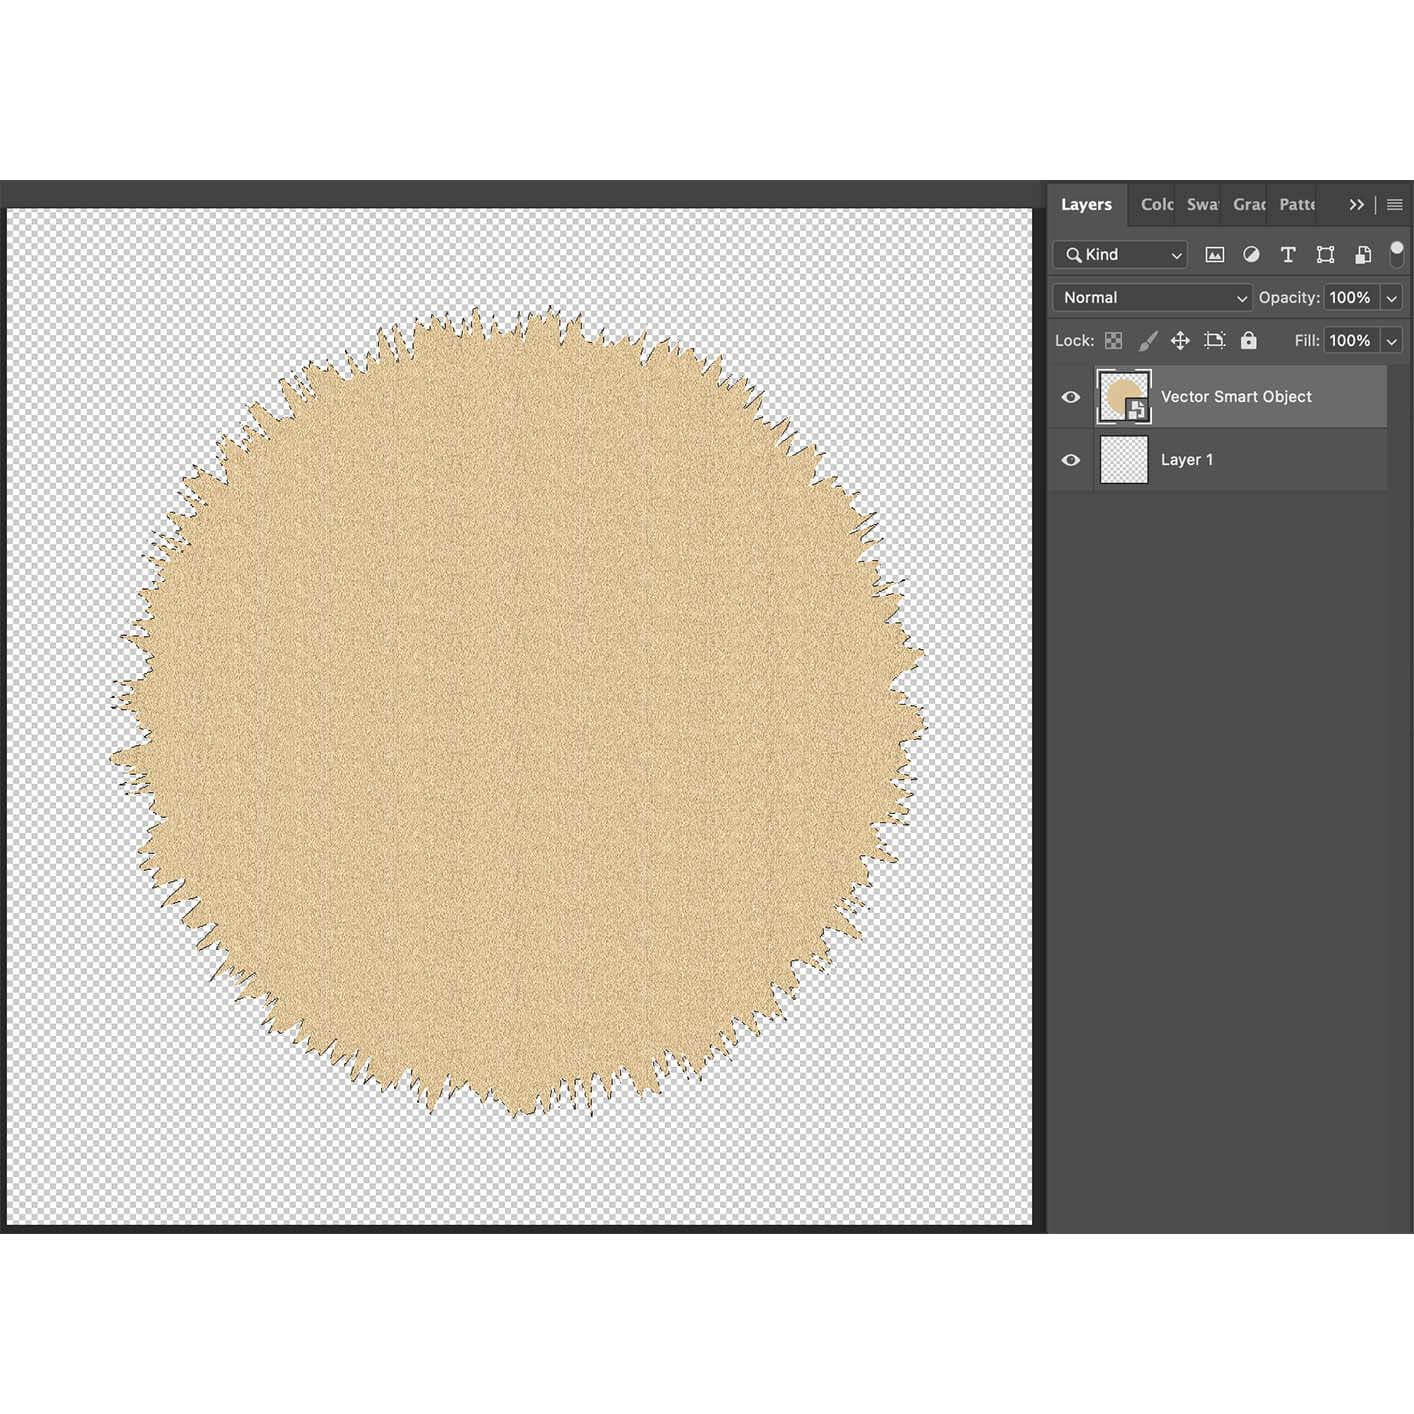
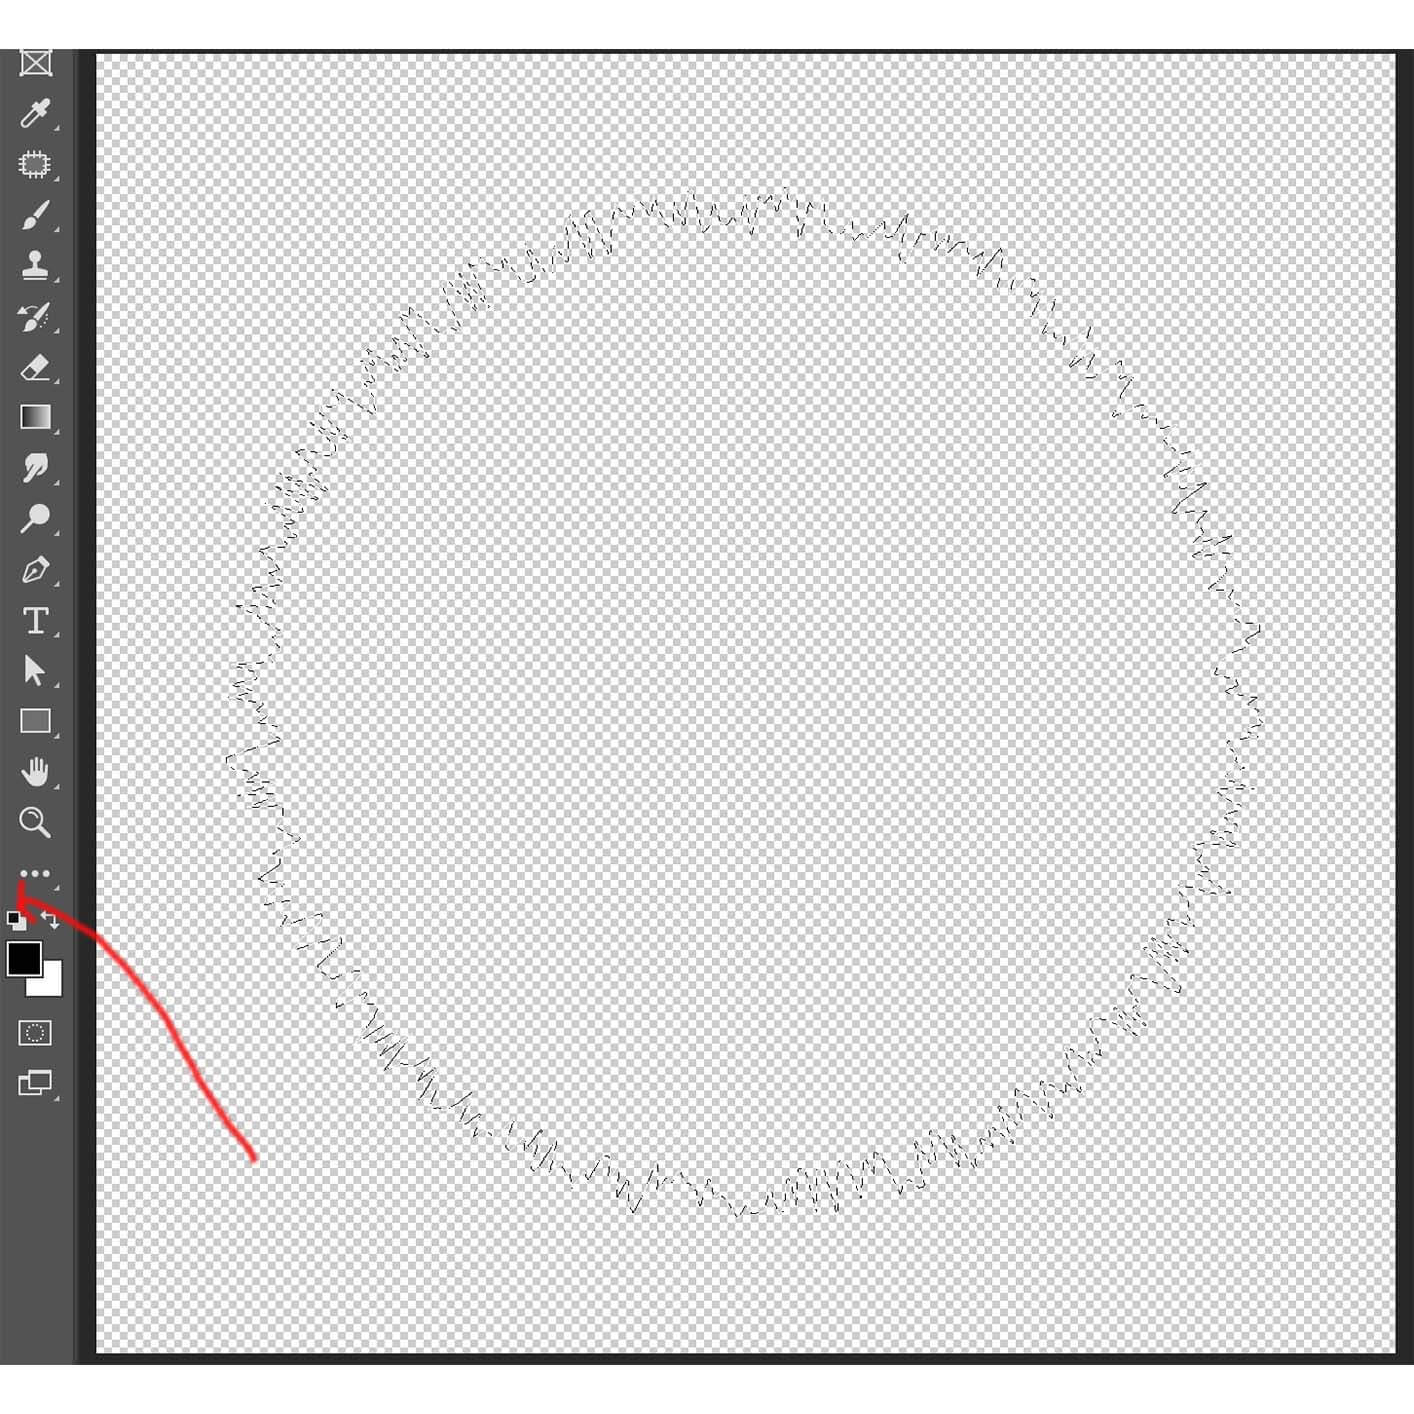
Now you will have a new Layer in your Layers palette called Vector Smart Object. If you don’t have your Layers palette visible, go to the top menu bar in Photoshop and select Window>Layers. Once you see the Layers palette you will hover your mouse over the mini thumbnail of the image next to the words Vector Smart Object, and while pressing the Command key (Windows key in Windows) you want to click directly on that mini thumbnail, which will result in your image getting these weird squiggly lines around it as shown below.
Step 6. Create a New Layer
Now comes a bit of a tricky step, but not really all that tricky. With your object still selected and the squiggly lines still visible, create a new layer in the Layers palette (the little + sign at the bottom of the Layers palette), which will create a new layer called Layer 2 as shown below.
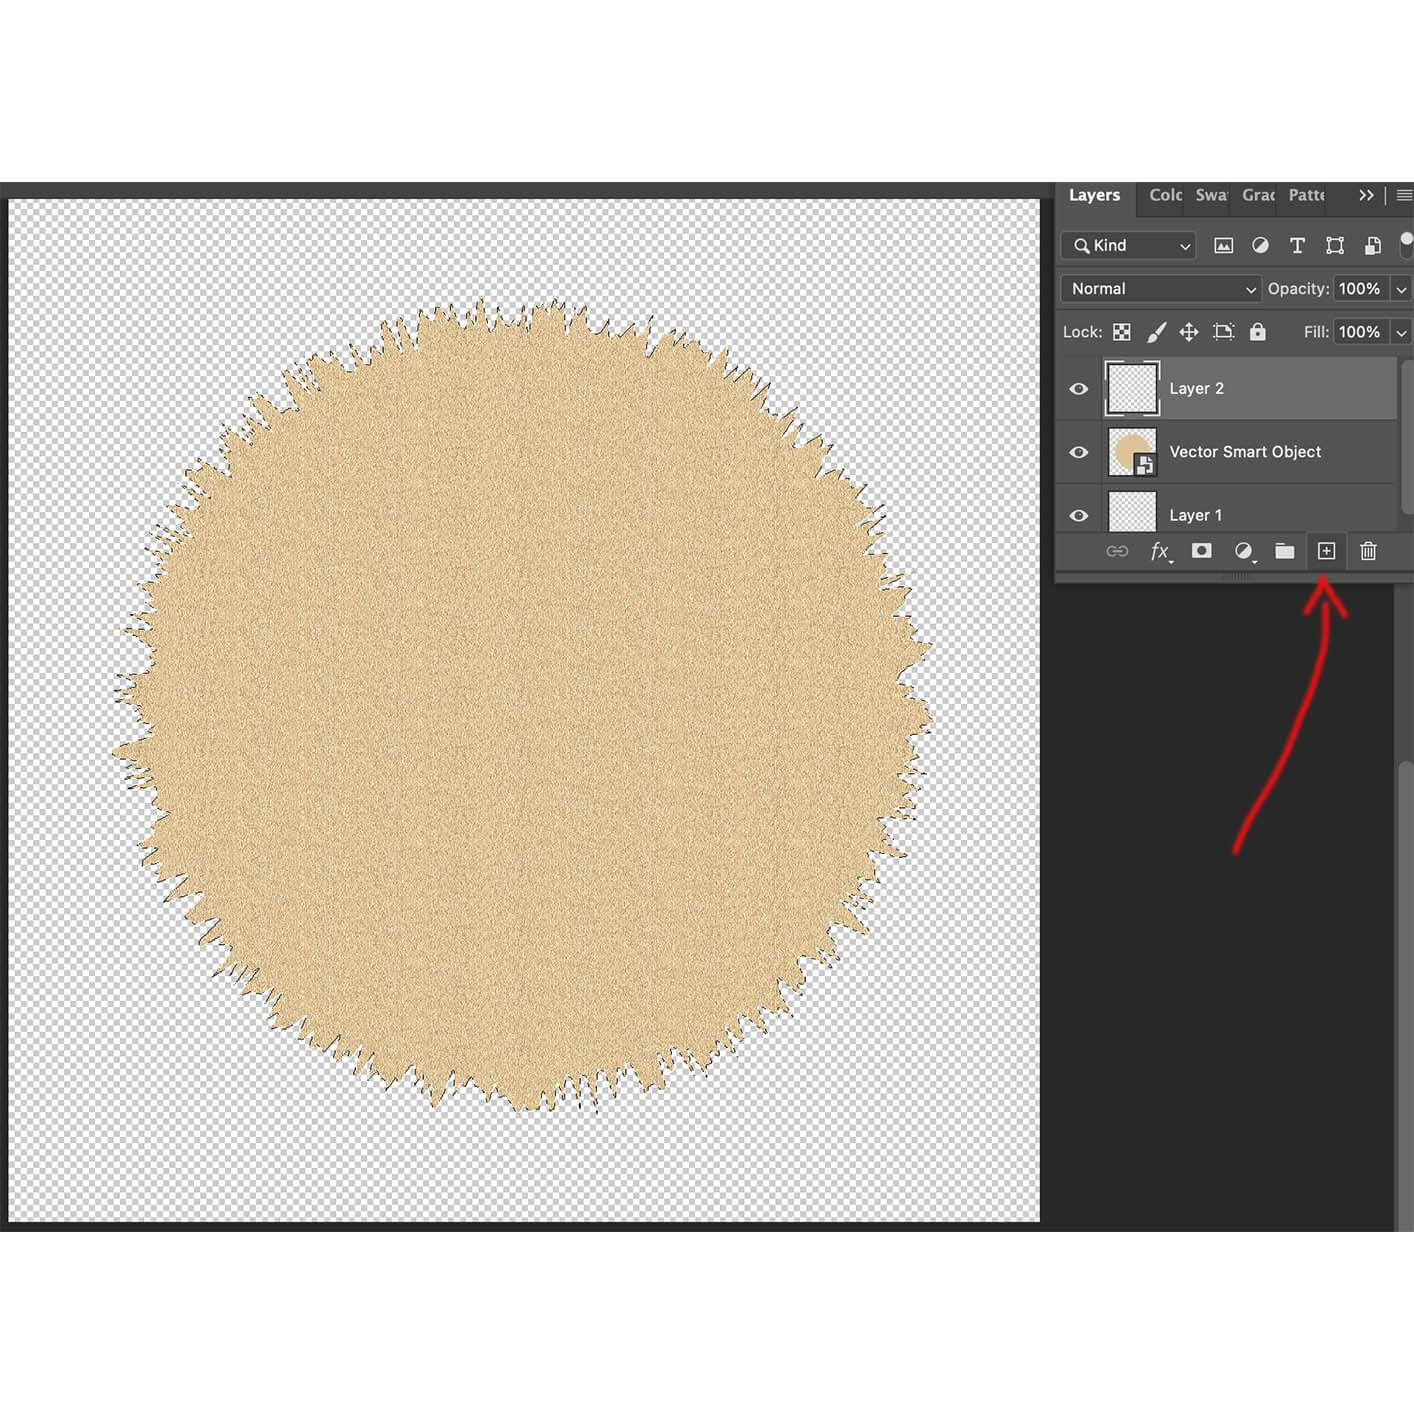
Make sure your Layers palette looks just like the one above, with the object still having the squiggly lines around it but most importantly with your topmost layer (Layer 2) highlighted with the light grey background (this means your top layer is selected as the one to which any changes you’re about to make will happen).
Step 7. Turn Off Vector Smart Object layer
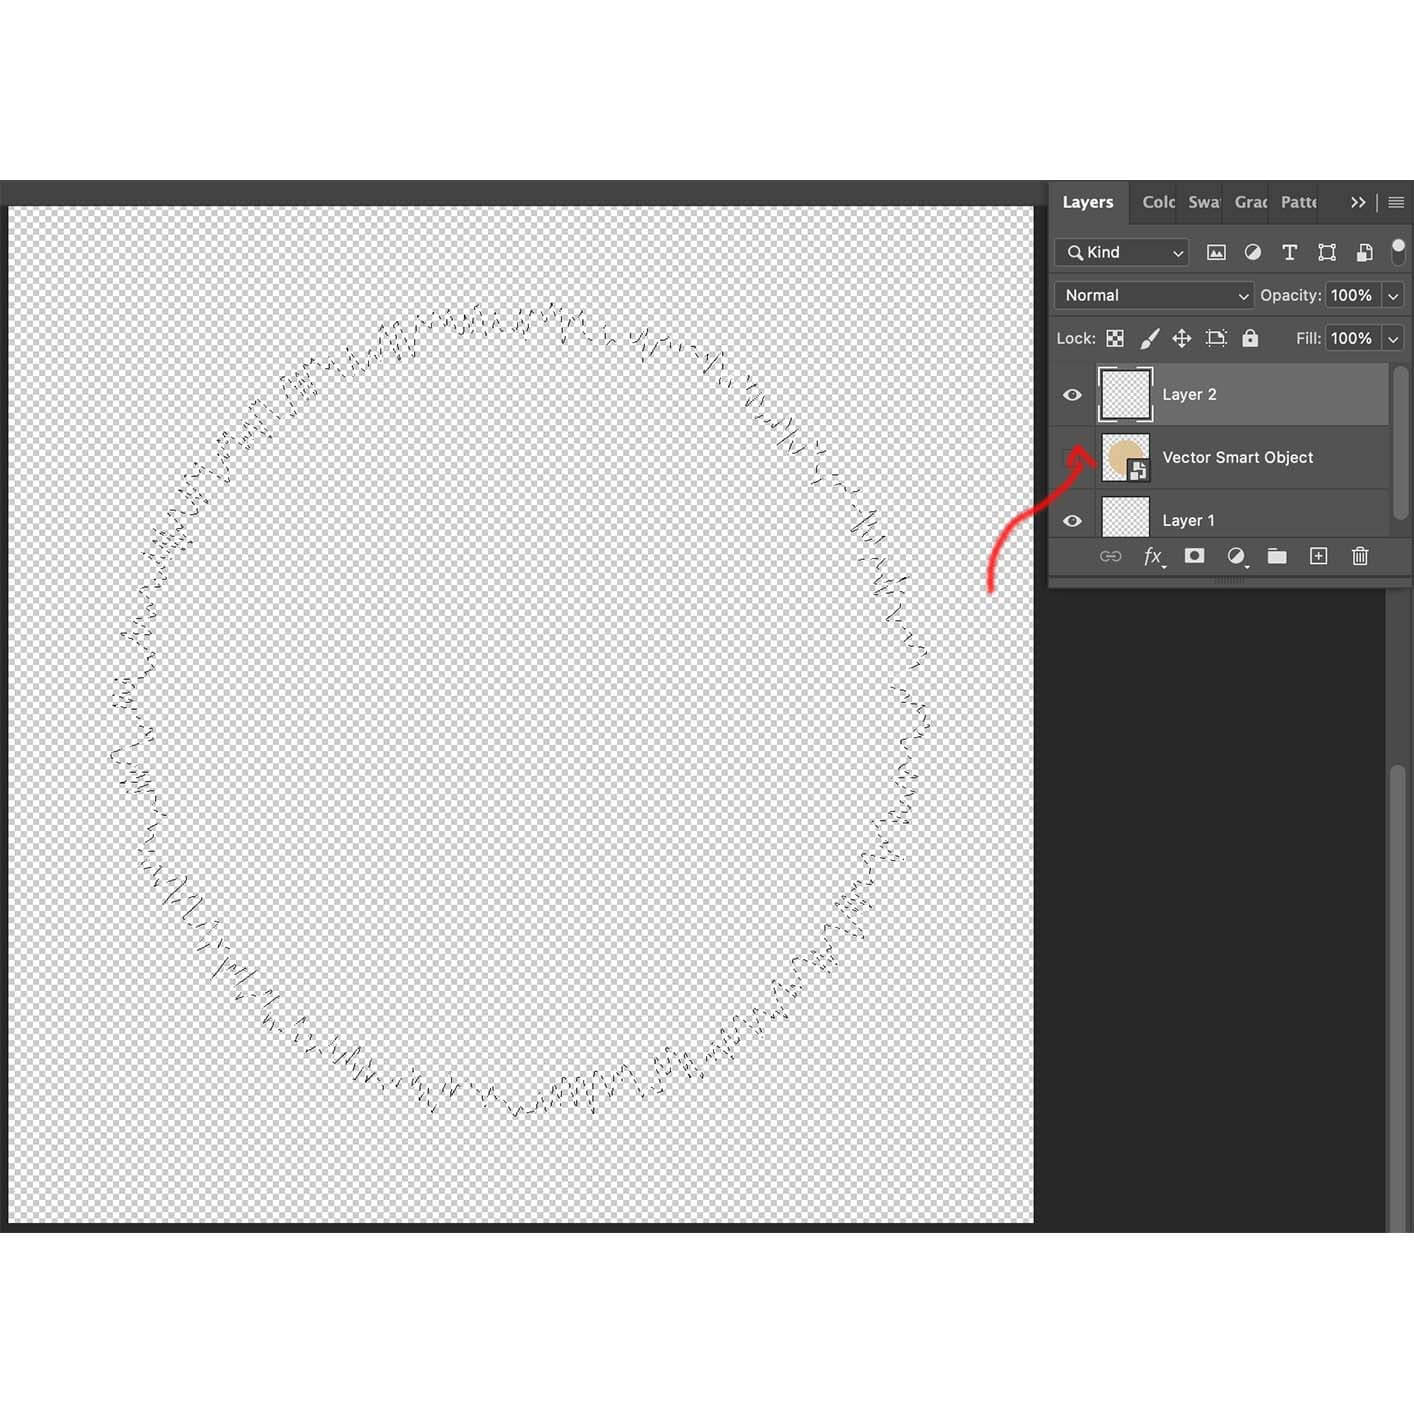
Now, turn off the eyeball icon next to the Vector Smart Object layer, which should result in your Layers palette looking like this, with the squiggly lines still showing, as shown below.
Step 8. Set Your Color Palette to Black and White
From here, you want to make sure your default color palette is set to black and white (it might already be this way but just in case it’s not) by clicking the super tiny little black and white squares as shown below. This will make the bigger squares beneath also black and white if they were some other color(s).
Step 9. Fill Your Squiggly Lines with Black
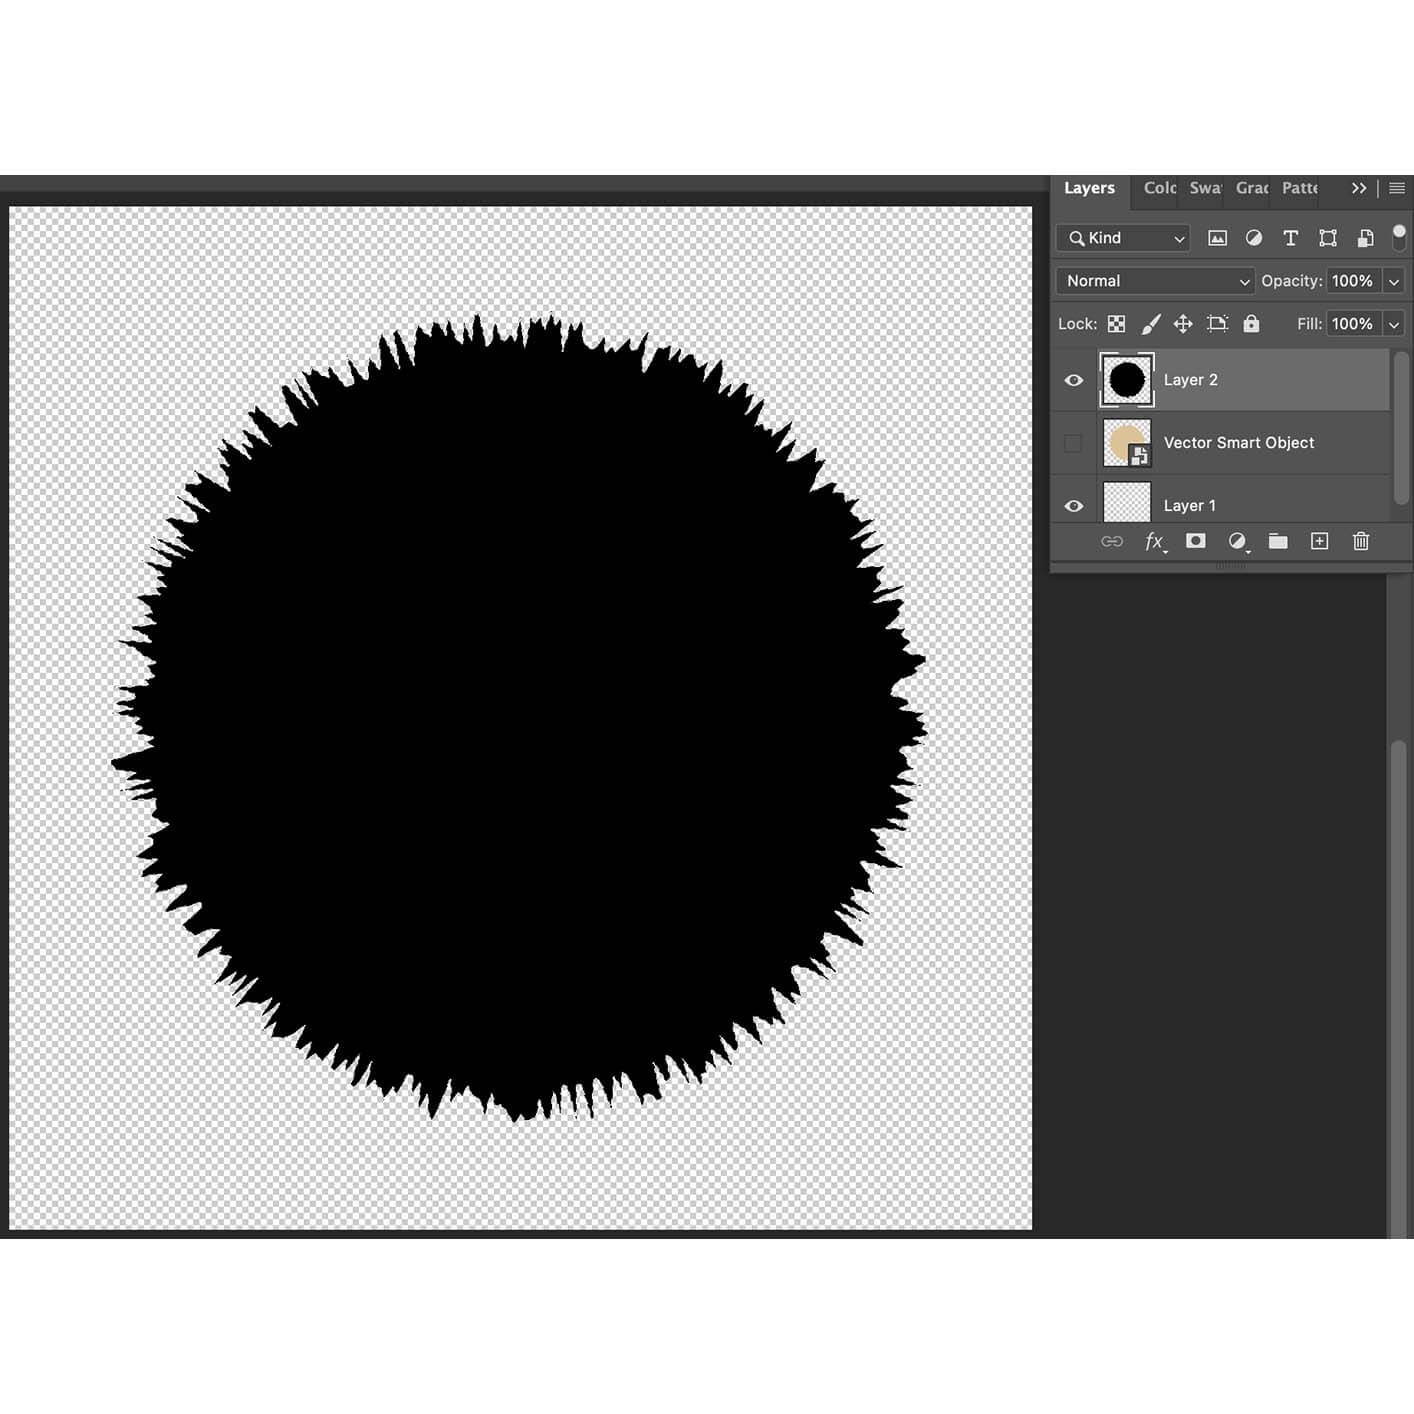
Now, simply press the Option (Alt key for Windows) and Delete keys at the same time, and that will fill your squiggly lines with black, as shown below:
Step 10. Save Your File as a Photoshop File
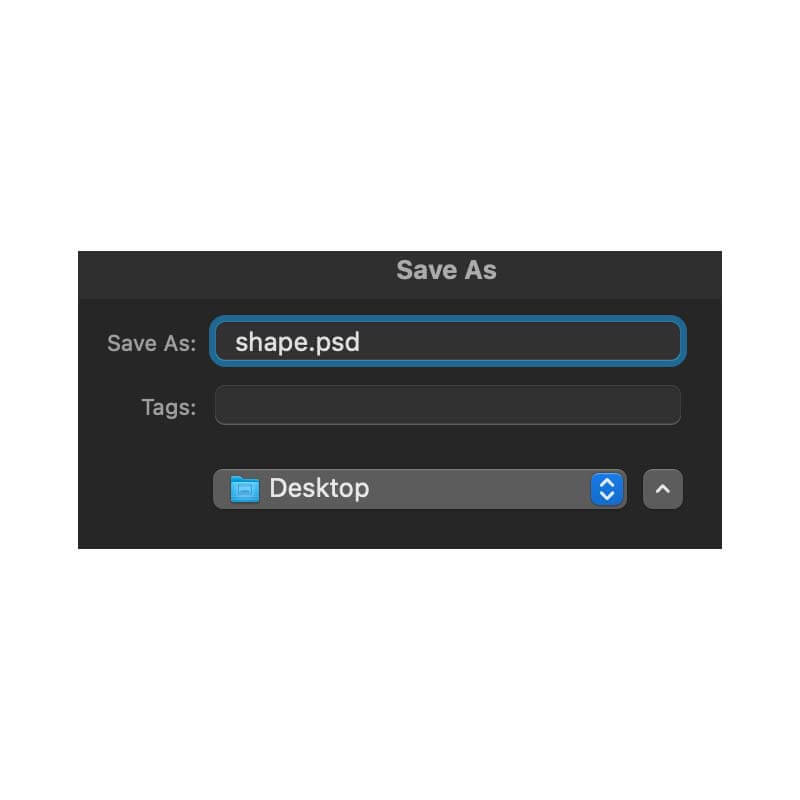
From here, save the file as Shape.psd (go to File>Save As) as shown below:
Step 11. Place Your PSD File in Adobe Illustrator
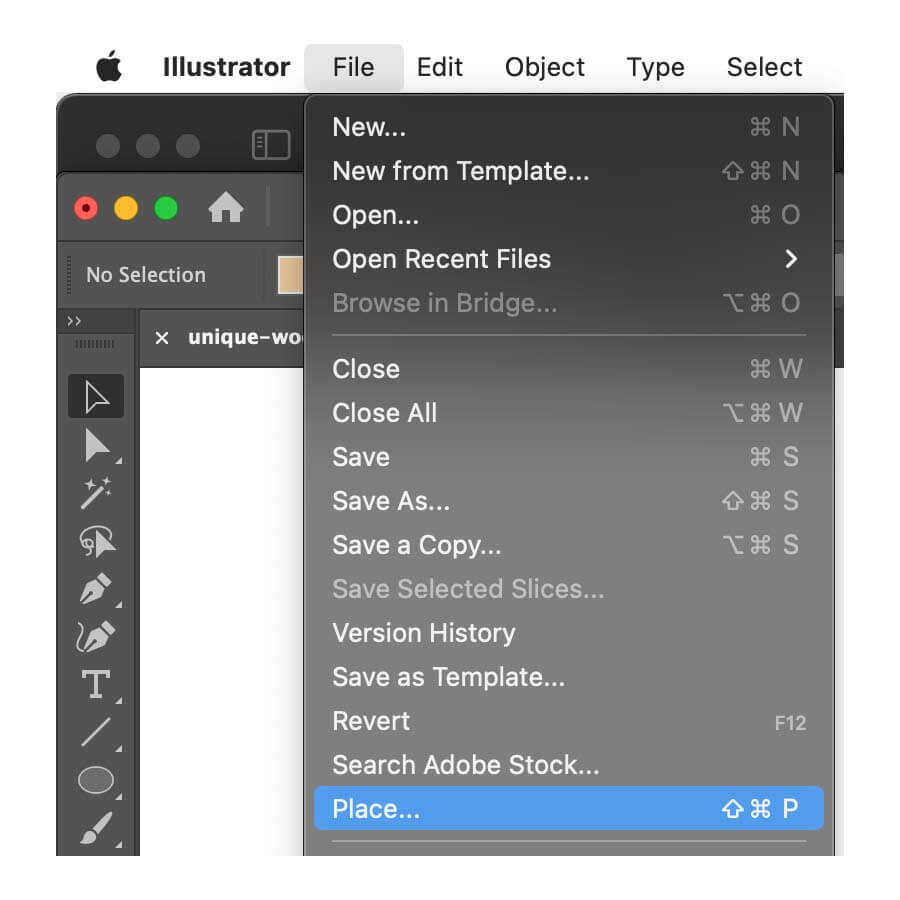
Now, go back to Adobe Illustrator (create a new file with whatever dimensions you want, perhaps just whatever default size Illustrator gives you, it doesn’t really matter in Illustrator what the file size is since everything is vector so don’t worry about what size to use). Once you have a new Adobe Illustrator file go to File>Place as shown below:
You will be given a dialog box asking what file you want to place, and here’s where you would select the Shape.psd file you just made in Photoshop.
Step 12. Use Image Trace on Your Placed PSD File
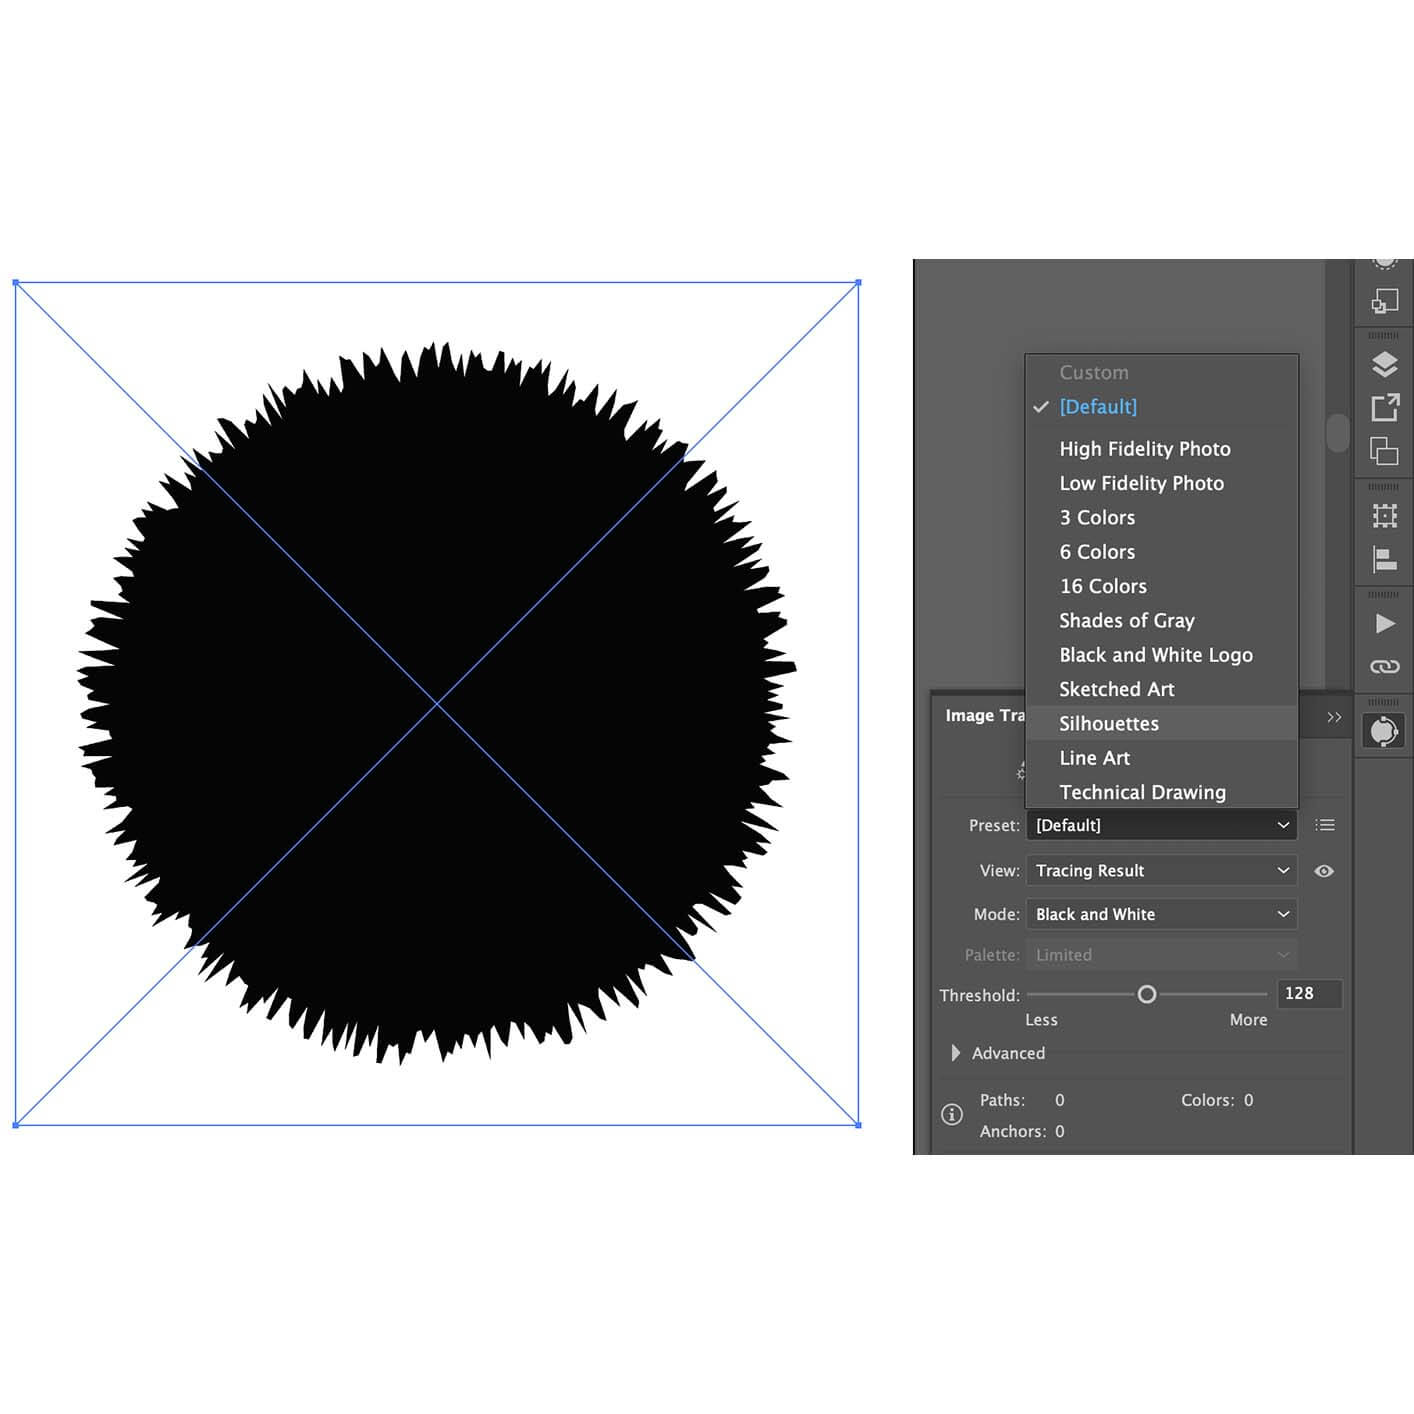
Once you’ve placed your Shape.psd file immediately go to the Image Trace palette, and select the Silhouettes option (I already had the Image Trace palette open so that’s why it’s showing in the image below, but if you don’t have it open go to the top menu bar in Illustrator and select Window>Image Trace and you will see the options shown below). Make sure your placed file still has the blue box and X around it still or the Image Trace won’t know what to apply itself to:
Step 13. Expand Your Traced Image
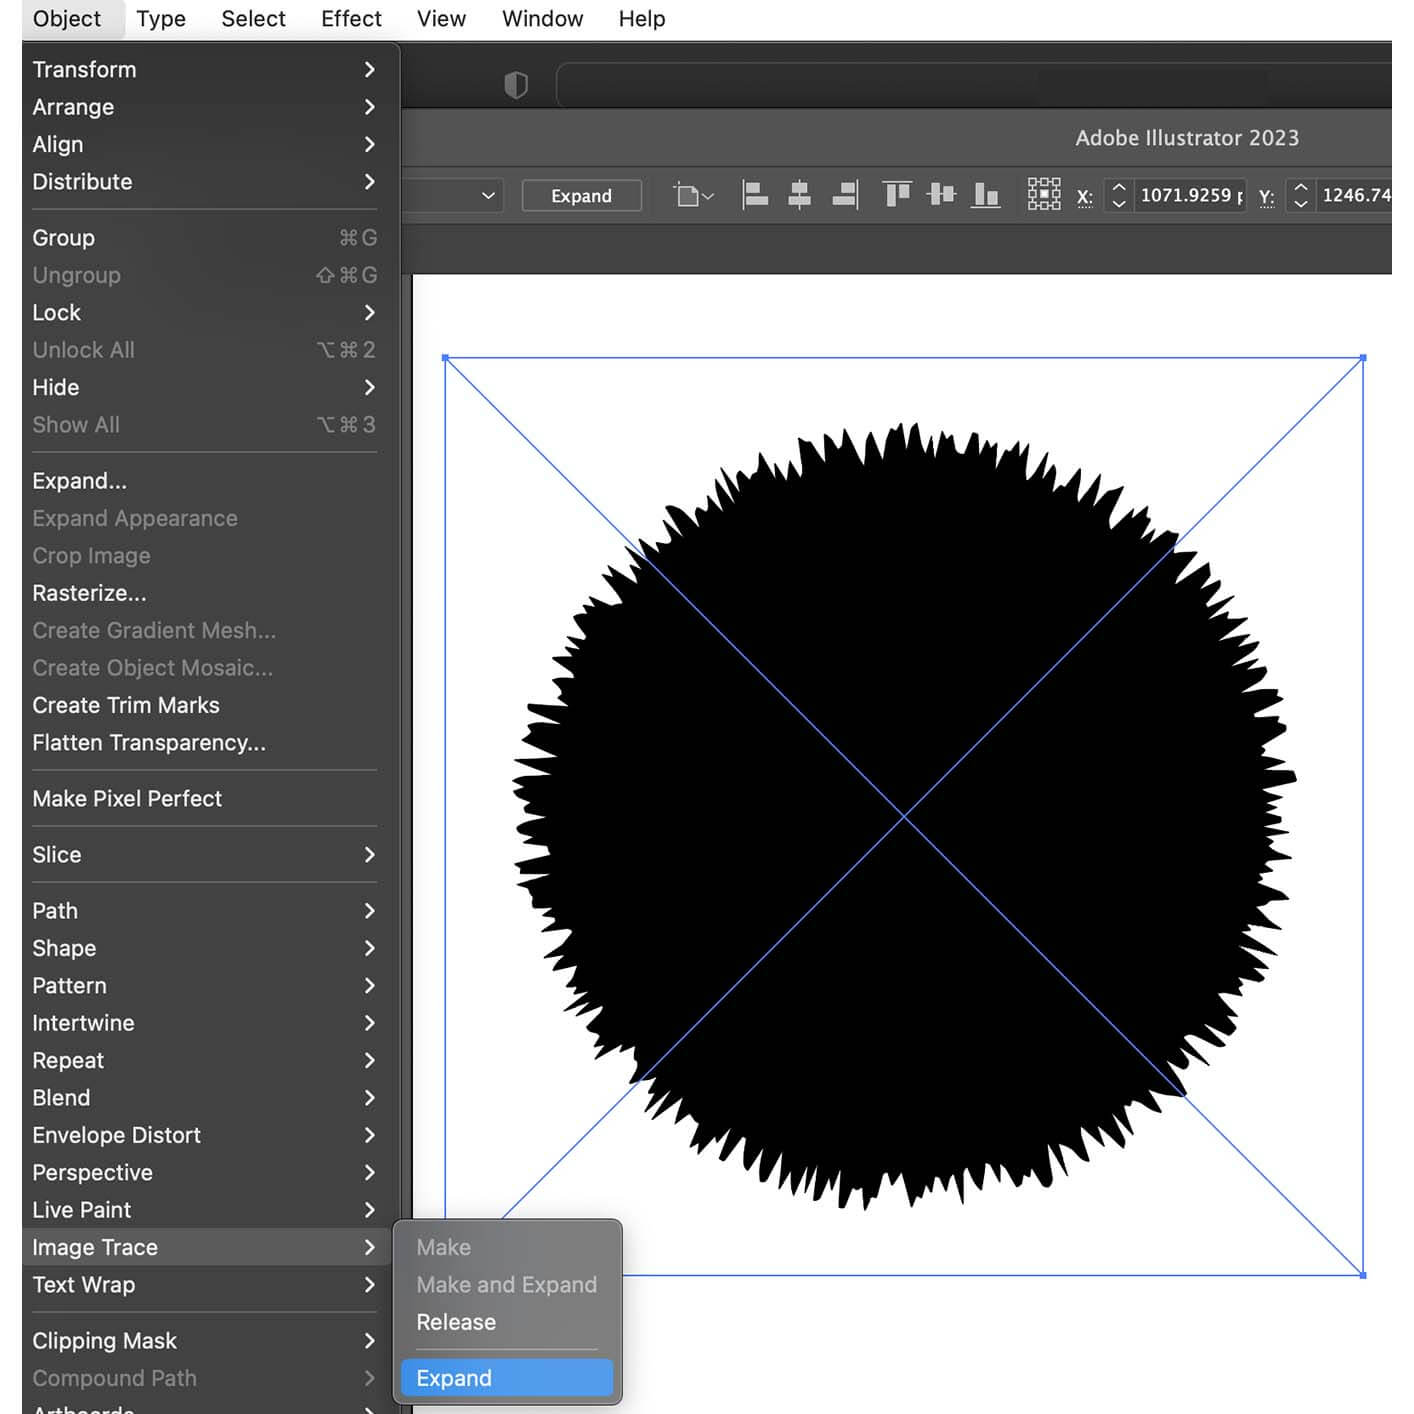
After you’ve applied the Silhouette option from the Image Trace palette you will go to the top menu bar in Illustrator and select Object>Image Trace>Expand as shown below:
And voila, you now have the custom vector shape you wanted, which you can fill with any color or pattern or gradient you want, as shown below.

A Case Study
As you can see, this allowed me to use this shape to create the main ring for the logo below, as well as additional rings around it and an outline, none of which would have been possible without first creating the custom vector shape.